
Workshop Overhead Boom Arm
If you've ever felt like your workshop has turned into an obstacle course of tangled hoses and cords, you're not alone. Like many woodworkers, I found myself constantly dancing around equipment, tripping over dust collection hoses, and wasting valuable time managing what should be helpful tools.


Today, I'm sharing a game-changing solution that transformed my cluttered workshop into an efficient workspace: a custom swing-out dust collection boom arm.
The best part? This project primarily uses those "maybe I'll need it someday" scraps that have been taking up valuable shop space. Sometimes hoarding pays off!
For even more info, check out the detailed tutorial video here!
Materials and Planning
Before we dive into the build, let's talk materials. The backbone of this project is plywood – ¾" for the bottom piece to provide strength across the span, and ½" for the sides to keep the weight manageable. After building it, I think that 3/4” for all sides could be just fine as well.
You'll also need:
J-bolt gate hinges (these are the unsung heroes of the project)
Basic hardware (nuts, bolts, washers)
Extension hose and power cord (optional but recommended)
Exactly What I used for this project:
3/4” and 1/2” scrap plywood
Step 1: Building the Frame
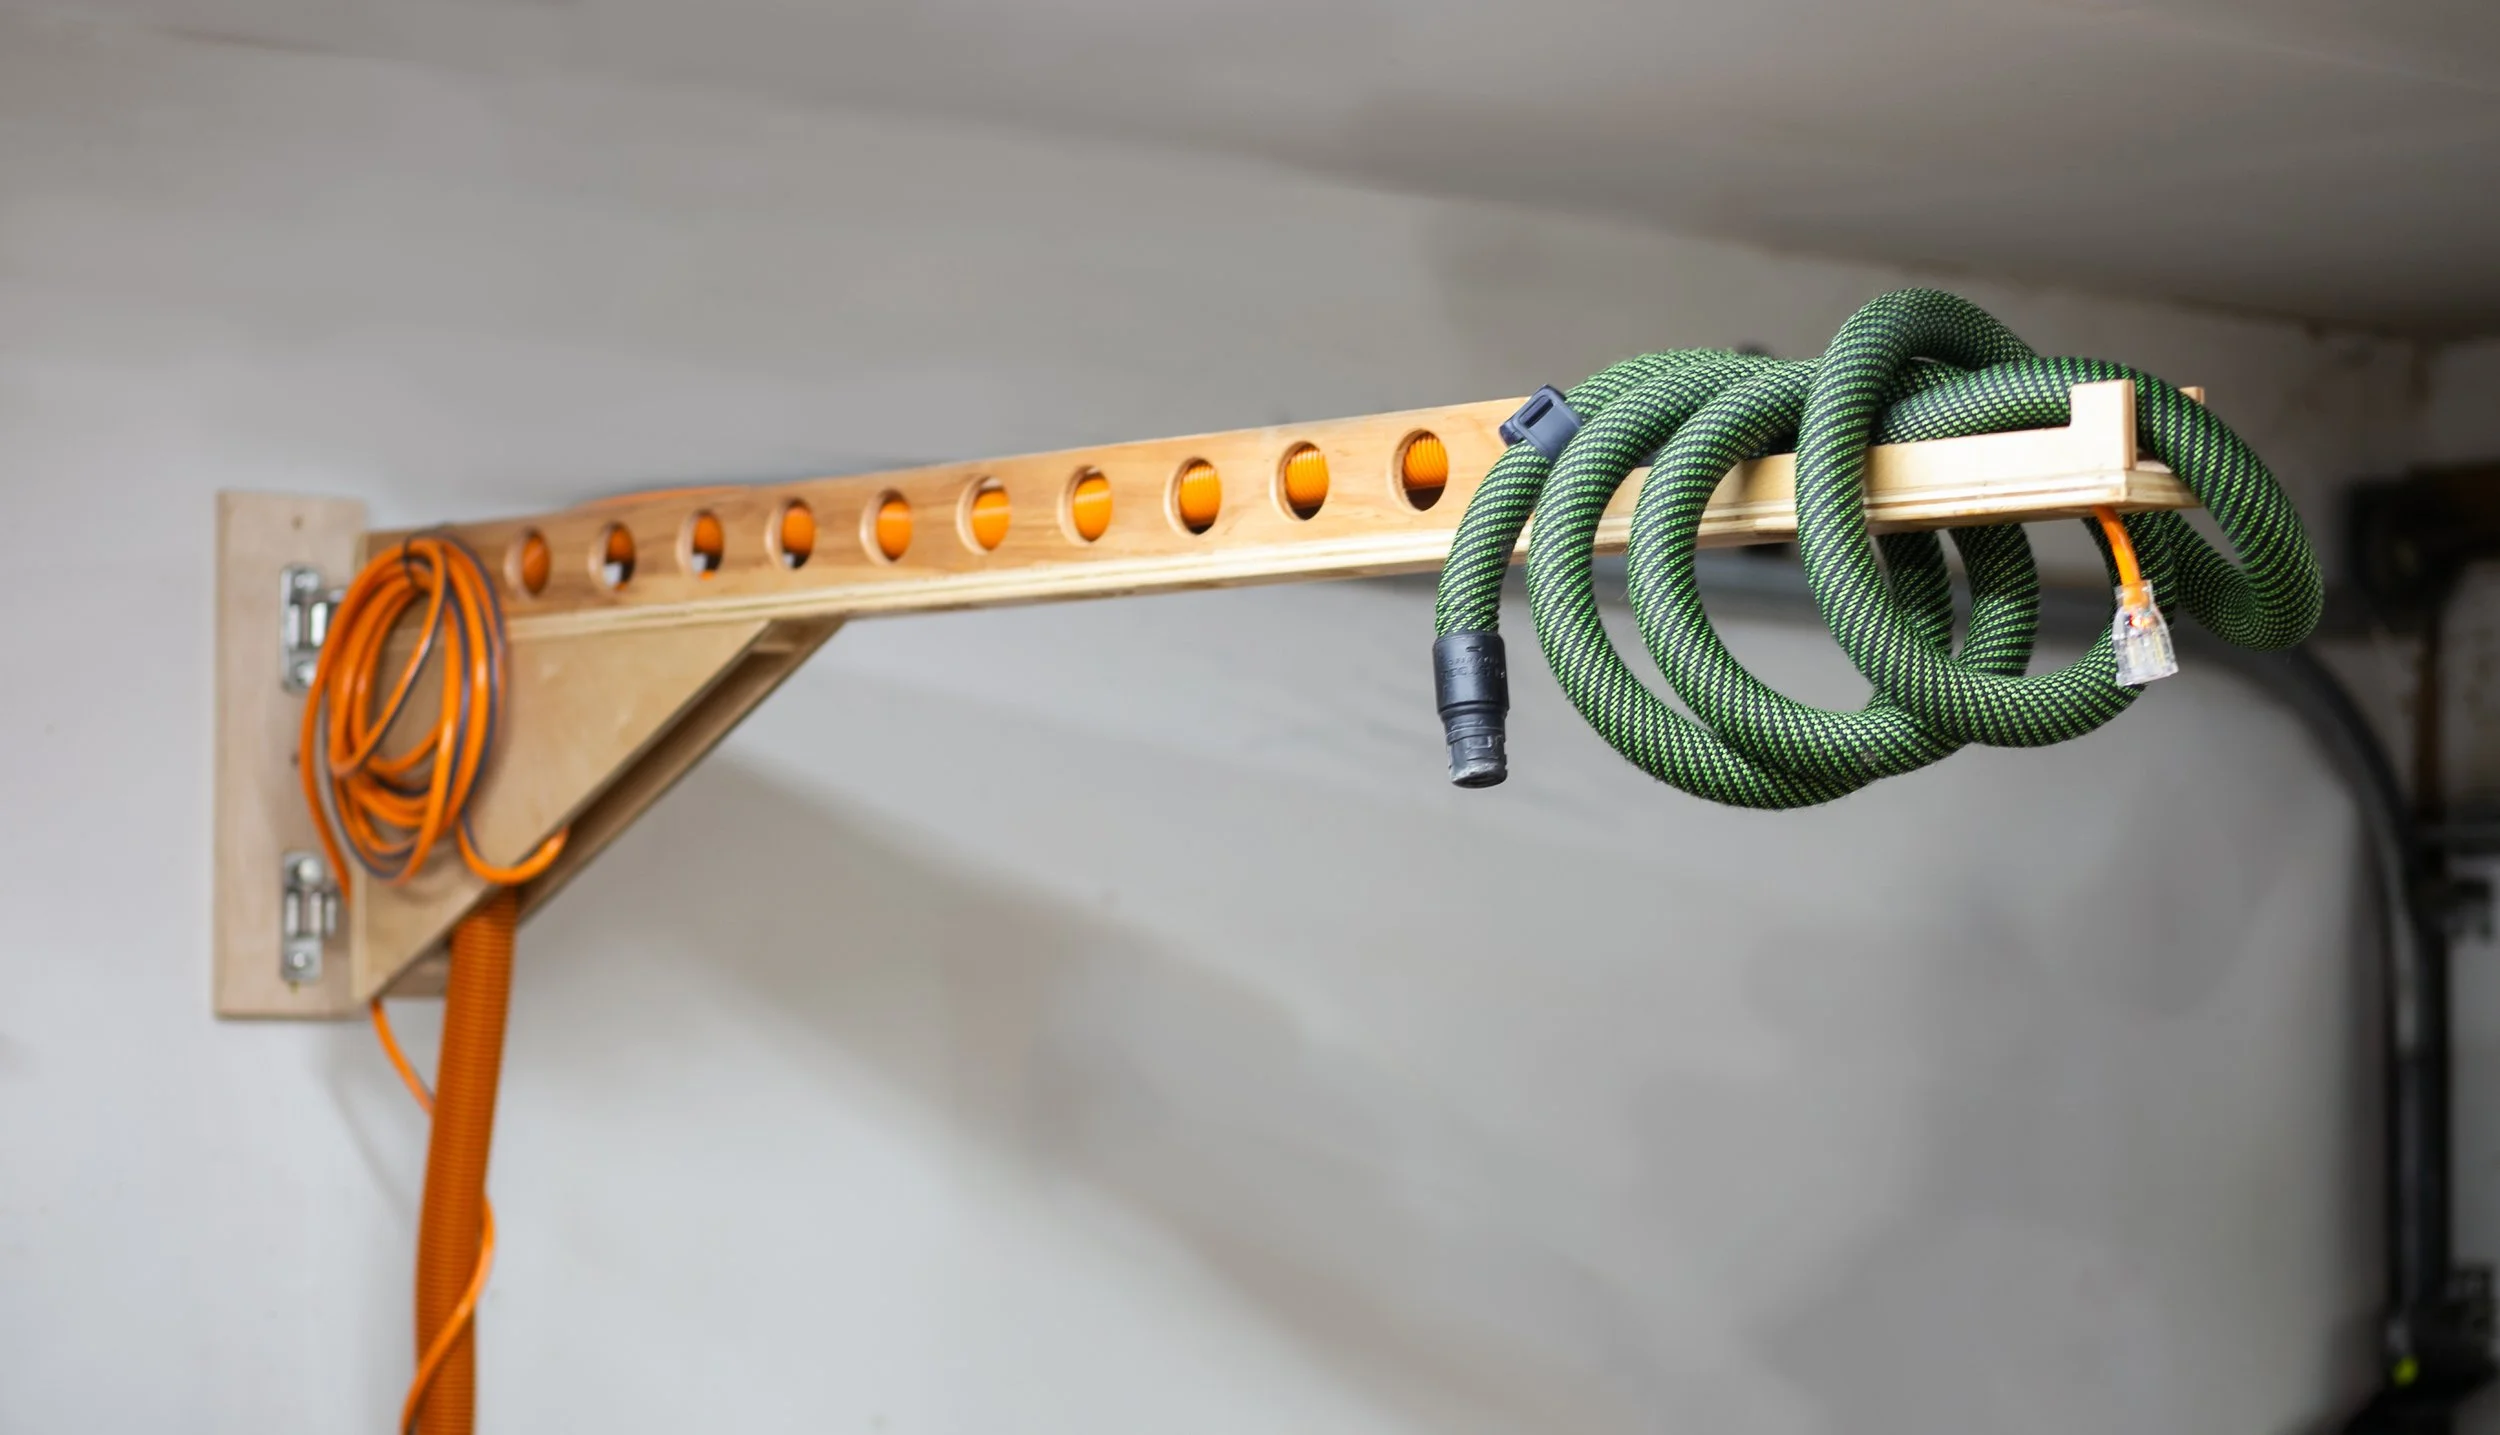
The total arm length is approximately 67 inches, designed to provide maximum reach while maintaining stability.
To minimize weight on this cantilevered design, I created weight reduction holes throughout all three sides – think structural Swiss cheese. The bottom piece got an extra-large hole at the hinge end to accommodate the vacuum hose, created using a 2" Forstner bit and finished with a jigsaw.

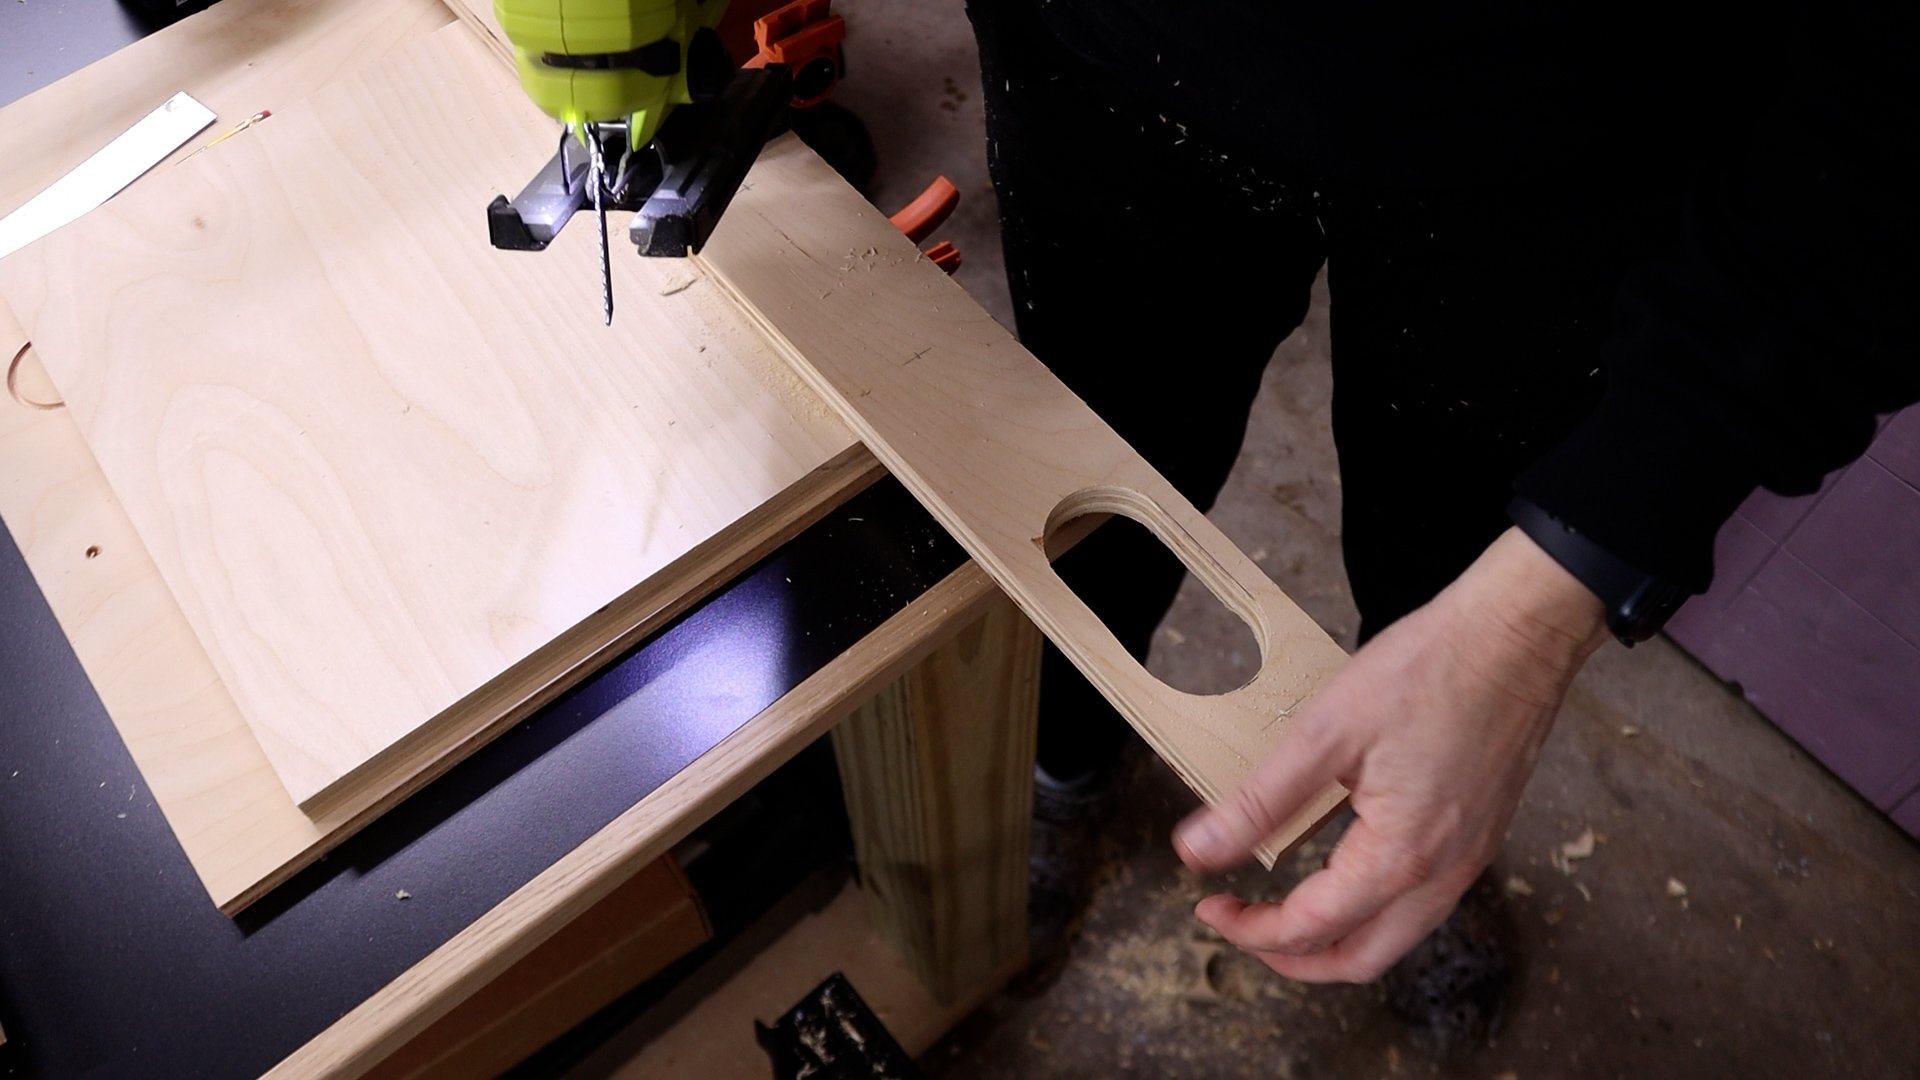
Pro tip: When drilling large holes, don't hesitate to bring out the big guns. My battery-powered drill quickly waved the white flag, but a corded drill handled the task effortlessly. Just remember to start gently and increase power once the bit is stable to prevent tear-out. A drill press would be ideal.
Keep in mind that there is much more info and visuals in the build video.

I also gave a slight roundover to each hole and the sides with my trim router to soften the edges.


These digital, printable build plans will walk you through the steps, materials and dimensions so you can build this awesome boom arm for your your space
Step 2: Assembly!
I started by gluing and pin-nailing the bottom piece to one side, then repeated the process for the other side.

The extension pieces were added to the sides, incorporating notches that serve double duty – they hold extra vacuum hose while reducing weight at the far end.


The mounting end received special attention with a double-thick plywood block at the top and angled brackets at the bottom to distribute the downward force. While I'm not an engineer, this design principle follows basic physics – spreading the load across a wider area reduces stress on any single point.


The second angled bracket won’t get attached just yet so I have room in this cavity to attach the swing hardware.
The Mounting System: Making It Swing
The secret to the smooth operation lies in the mounting hardware. Heavy-duty stainless steel J-bolt gate hinges provide the perfect combination of strength and smooth rotation. They're mounted at the top and bottom of the arm's back end, with careful attention to alignment for seamless movement. If you’d like more details, check out the build video.


I can now attach the second angled bracket with glue.

The wall mounting uses a ¾" plywood board secured directly to the studs, creating a solid foundation for the hinge brackets. This setup allows the arm to swing effortlessly while supporting the weight of hoses and power cords.


And then the J bolts simply set right into the hinge holes.
The top hinge can be mounted upside down, preventing the arm from lifting out of the holes. But after adding all of the hoses, etc. the weight of the arm prevents any accidental lifting. Just know it is a security option if you’d like.

The hinges move effortlessly and with a great degree of rotation. So cool!
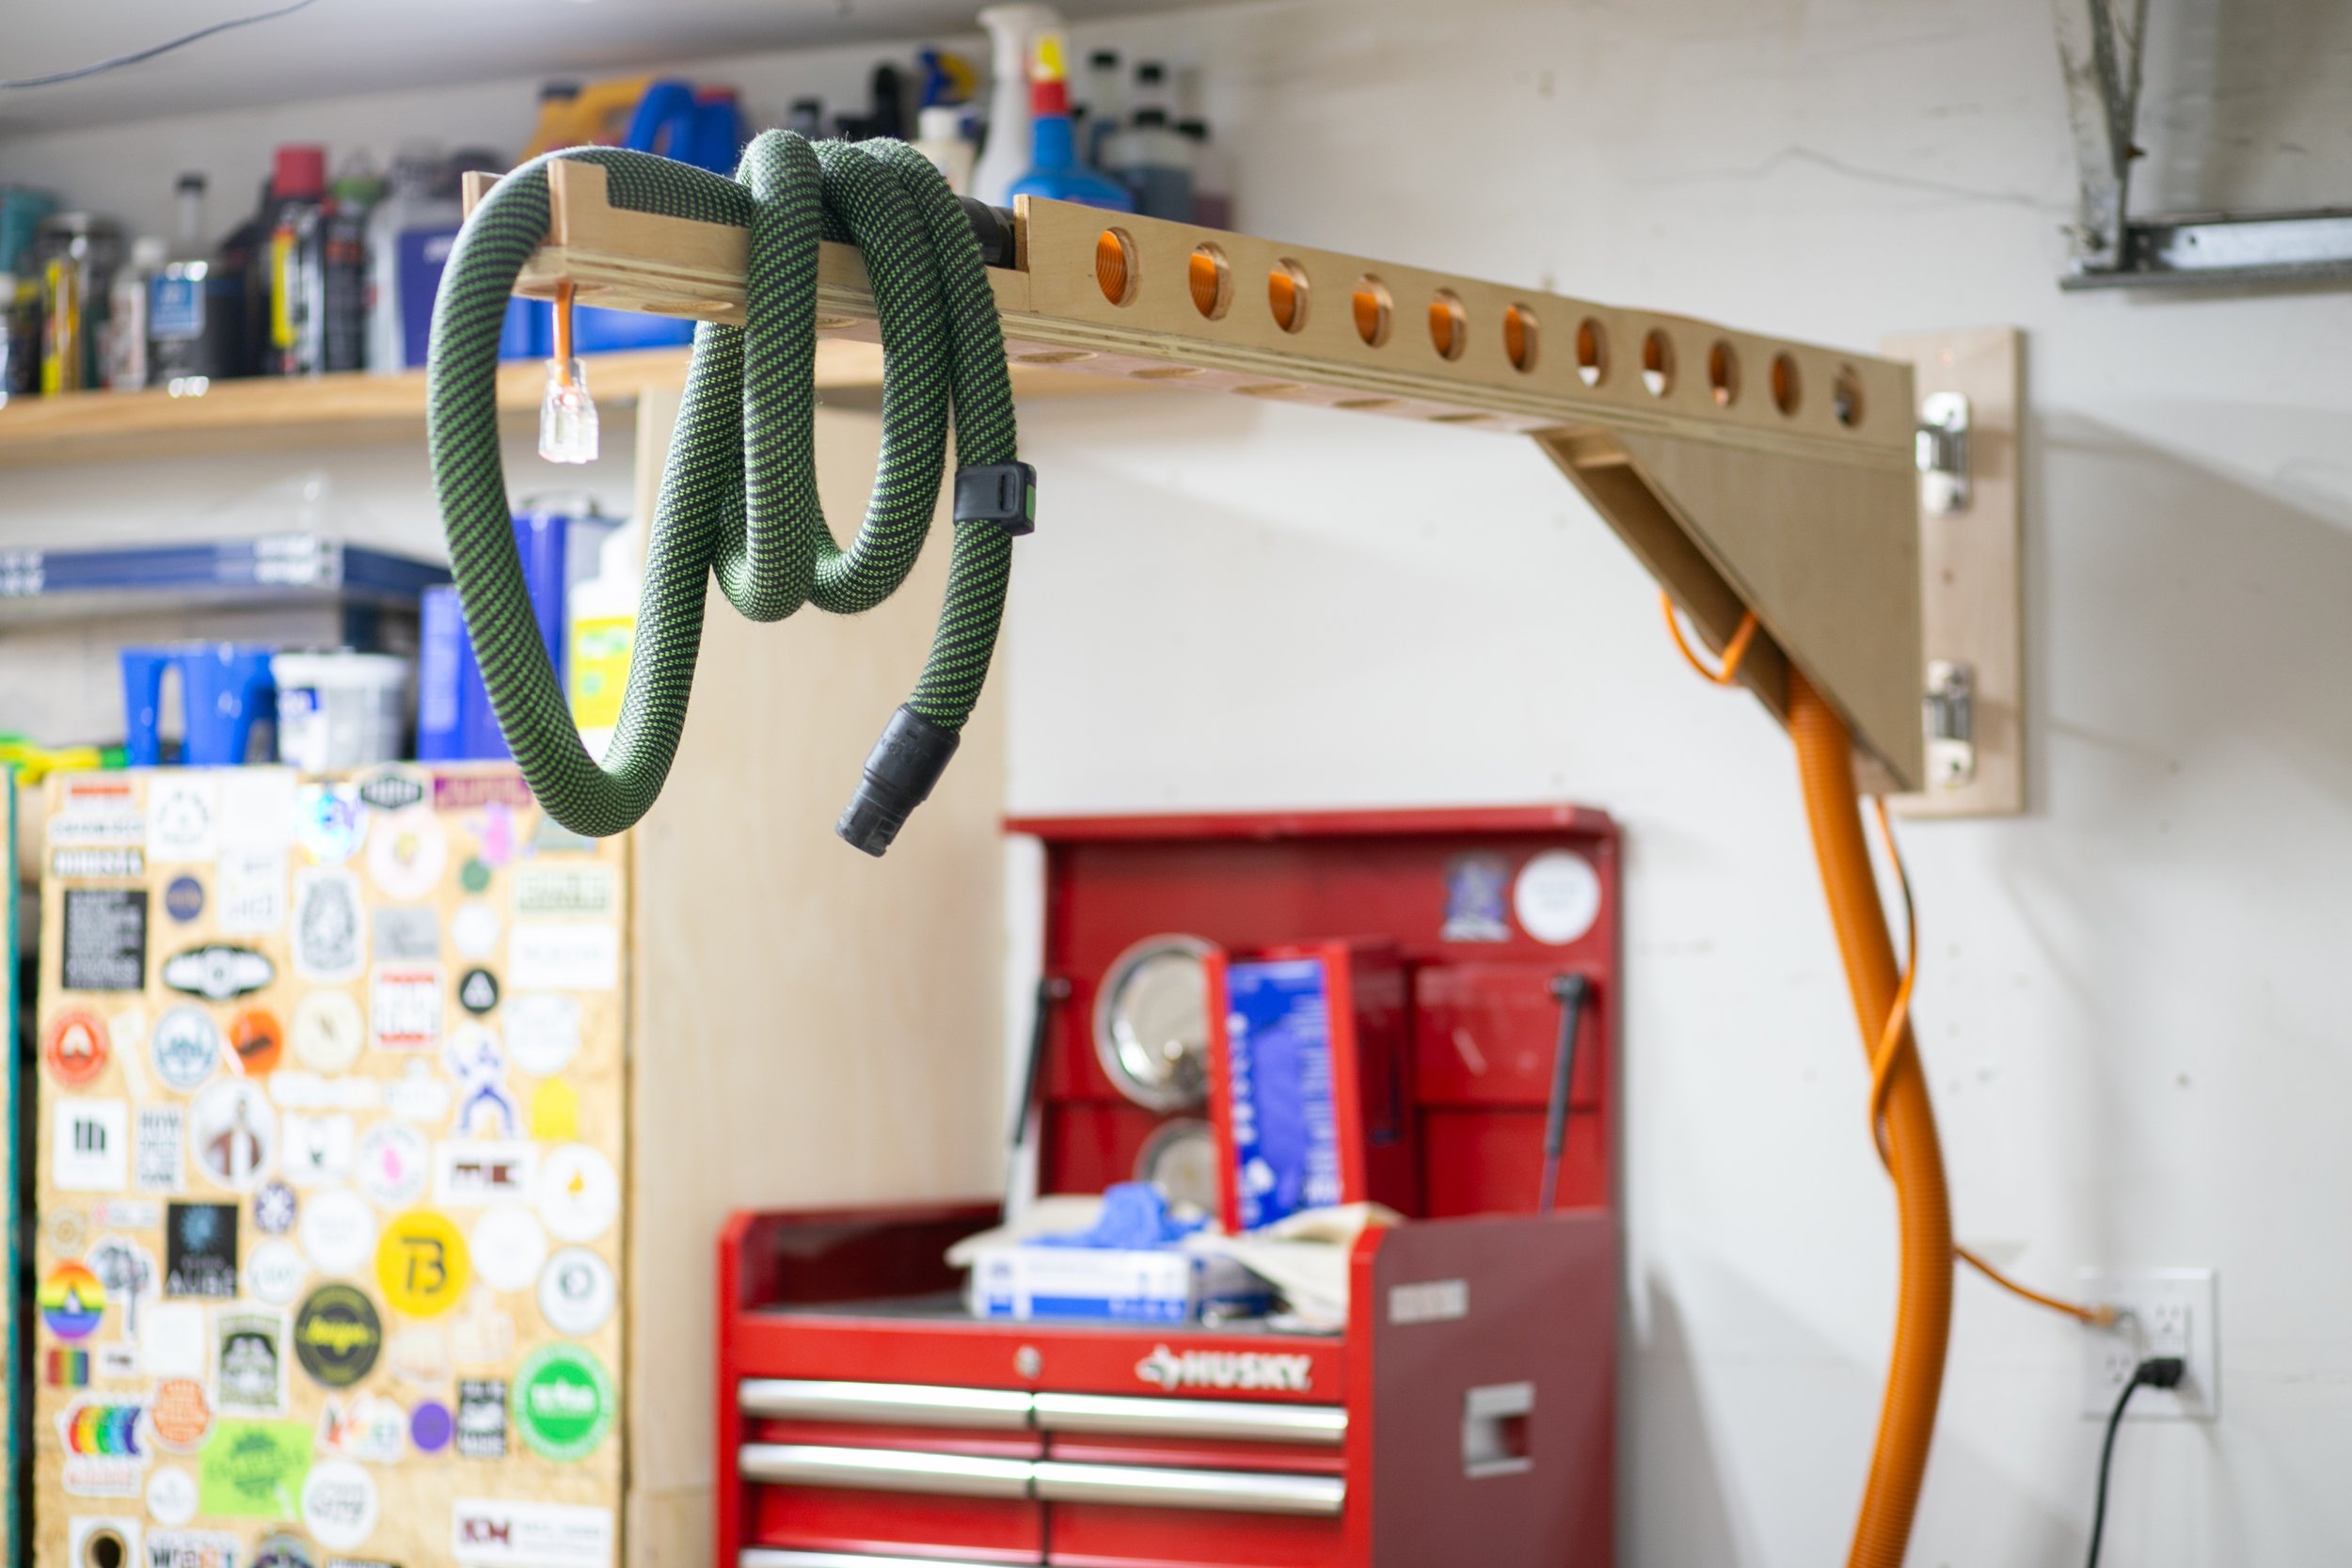
When not in use, the arm tucks up next to the wall and out of the way.


Finishing Touches
To protect the wood and ensure longevity, I applied several coats of Total Boat’s Halcyon varnish. It’s a great finish for a project like this.

The dust collection setup includes a 10-foot extension hose running through the arm's large opening, connected to a cyclone separator and dust extractor. On the other end, my Festool hose is attached to the extension, including a convenient Bluetooth power button at the hose end allows for remote operation.


One unexpected challenge was the cyclone separator tipping from air power. The easy solution? A simple wall-mounted hook to keep it stable. I also added an overhead power cord along the arm for easy access to electricity anywhere in the workshop.


The Result
This project has revolutionized my workshop workflow. No more tripping hazards, no more wrestling with hoses, and significantly more efficient dust collection. The arm swings smoothly to wherever it's needed and tucks away neatly when not in use.
While this design worked perfectly for my space, don't be afraid to modify it for your needs. The basic principles – lightweight construction, sturdy mounting, and thoughtful reinforcement – can be adapted to various workshop layouts and requirements.

Ready to build your own? Definitely check out the build plans. Your future self will thank you for the effort invested in creating a cleaner, more efficient workspace.
Have you tackled similar workshop organization projects? I'd love to hear about your solutions and any modifications you might make to this design. After all, the best workshop improvements come from sharing ideas within our community of makers.
And don’t forget to see the whole project in greater detail in my tutorial video here:
You Might Also Like These Projects!


Follow Maker Gray:
Instagram @MakerGray https://www.instagram.com/makergray/
Facebook https://www.facebook.com/MakerGray/
TikTok: https://bit.ly/3lXgdHh
If you liked this project and want to stay up to date with what I’m building, be sure to sign up for my newsletter and you’ll get an email sharing new DIY projects!