DIY Dog Bowl Stand | Concrete & Wood
I made this awesome DIY dog bowl stand with a concrete top for my dog's food and water bowls. This is an easy build and a great into into working with concrete! I used Quikrete for the top and 2x8's for the wooden base. Be sure to watch the video to see how I did it.
Materials and Tools I Used:
Melamine Boards
Quikrete Concrete Mix
2x8 Boards
Wooden Dowels
The Concrete Top
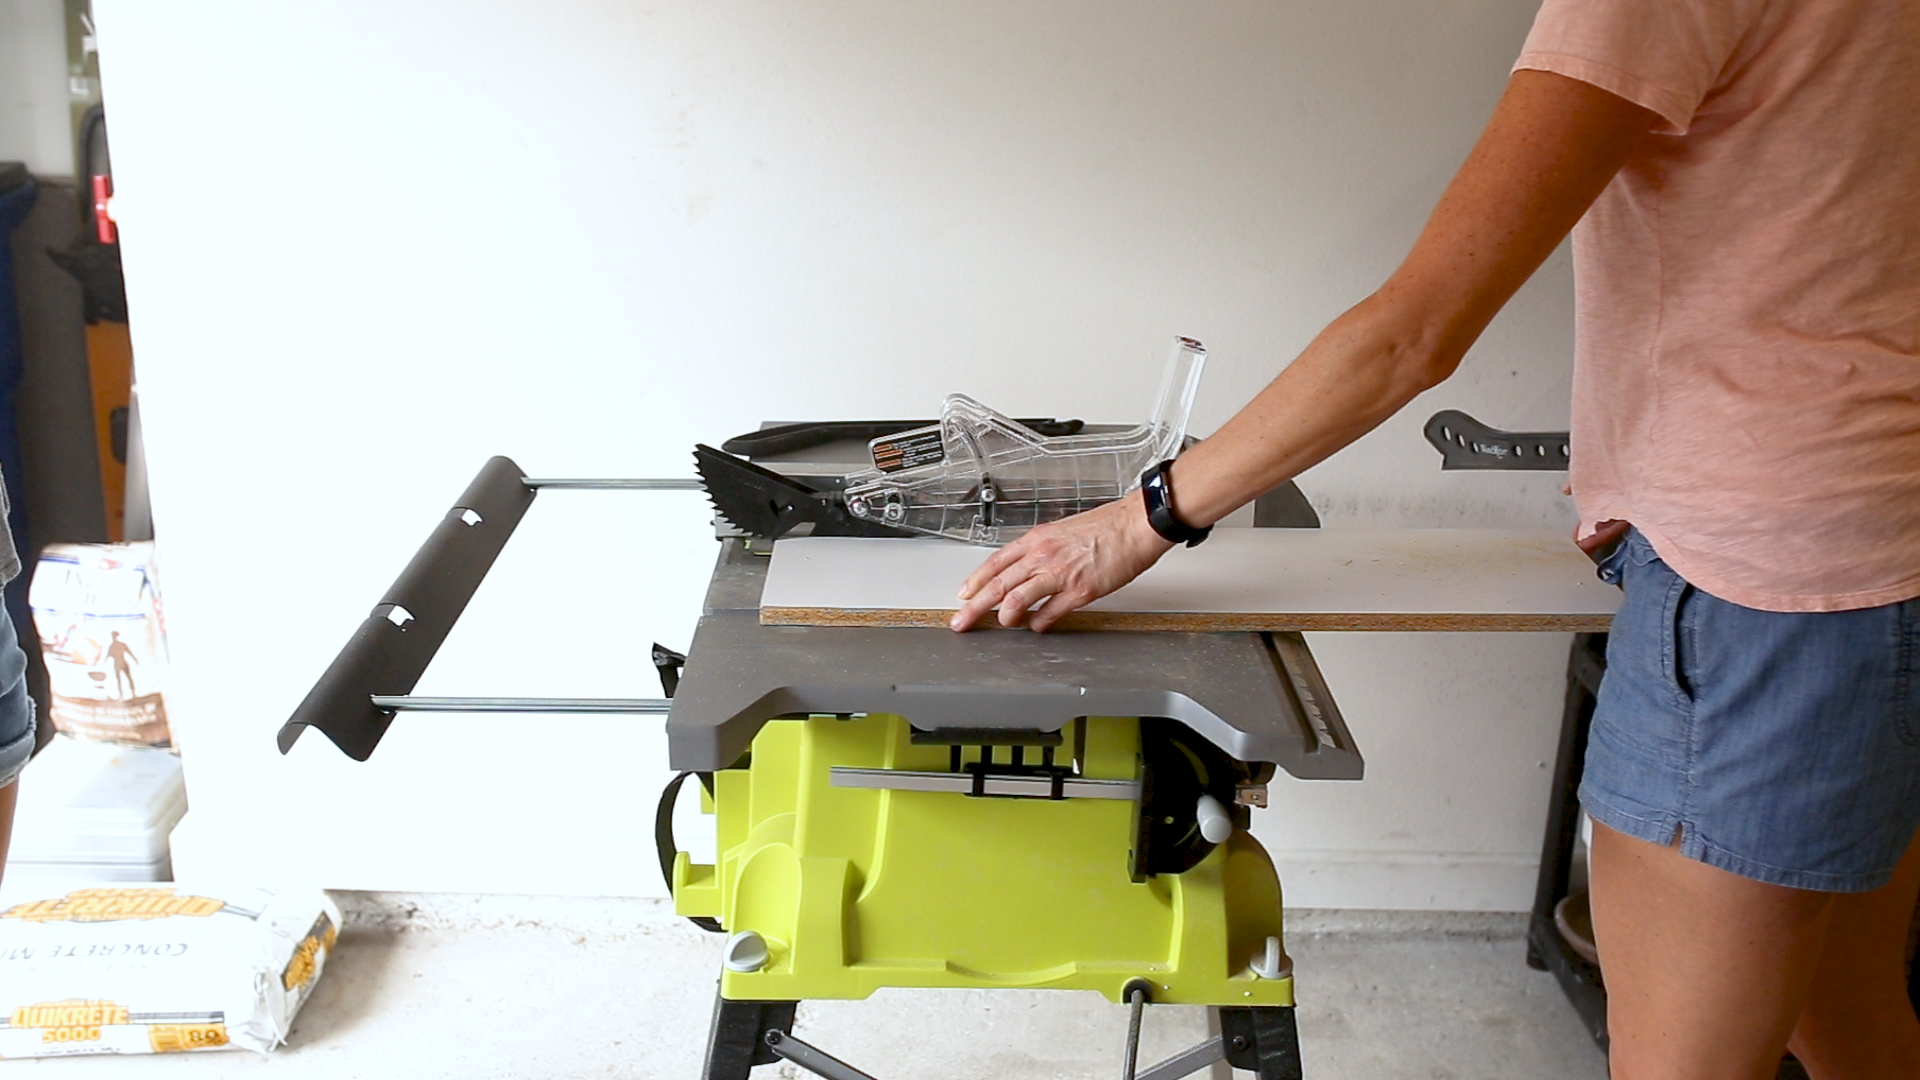
I started this project by cutting 4 strips of melamine on the table saw to make the sides of my concrete form. You could also use a circular saw. I then cut the strips to length on the miter saw.
Once I had the four pieces to size I screwed them together to make a rectangular form, making sure my corners were square.
I hot glued the form down to a bigger melamine piece, creating the bottom of the form. And then caulked the inside corners and edges.
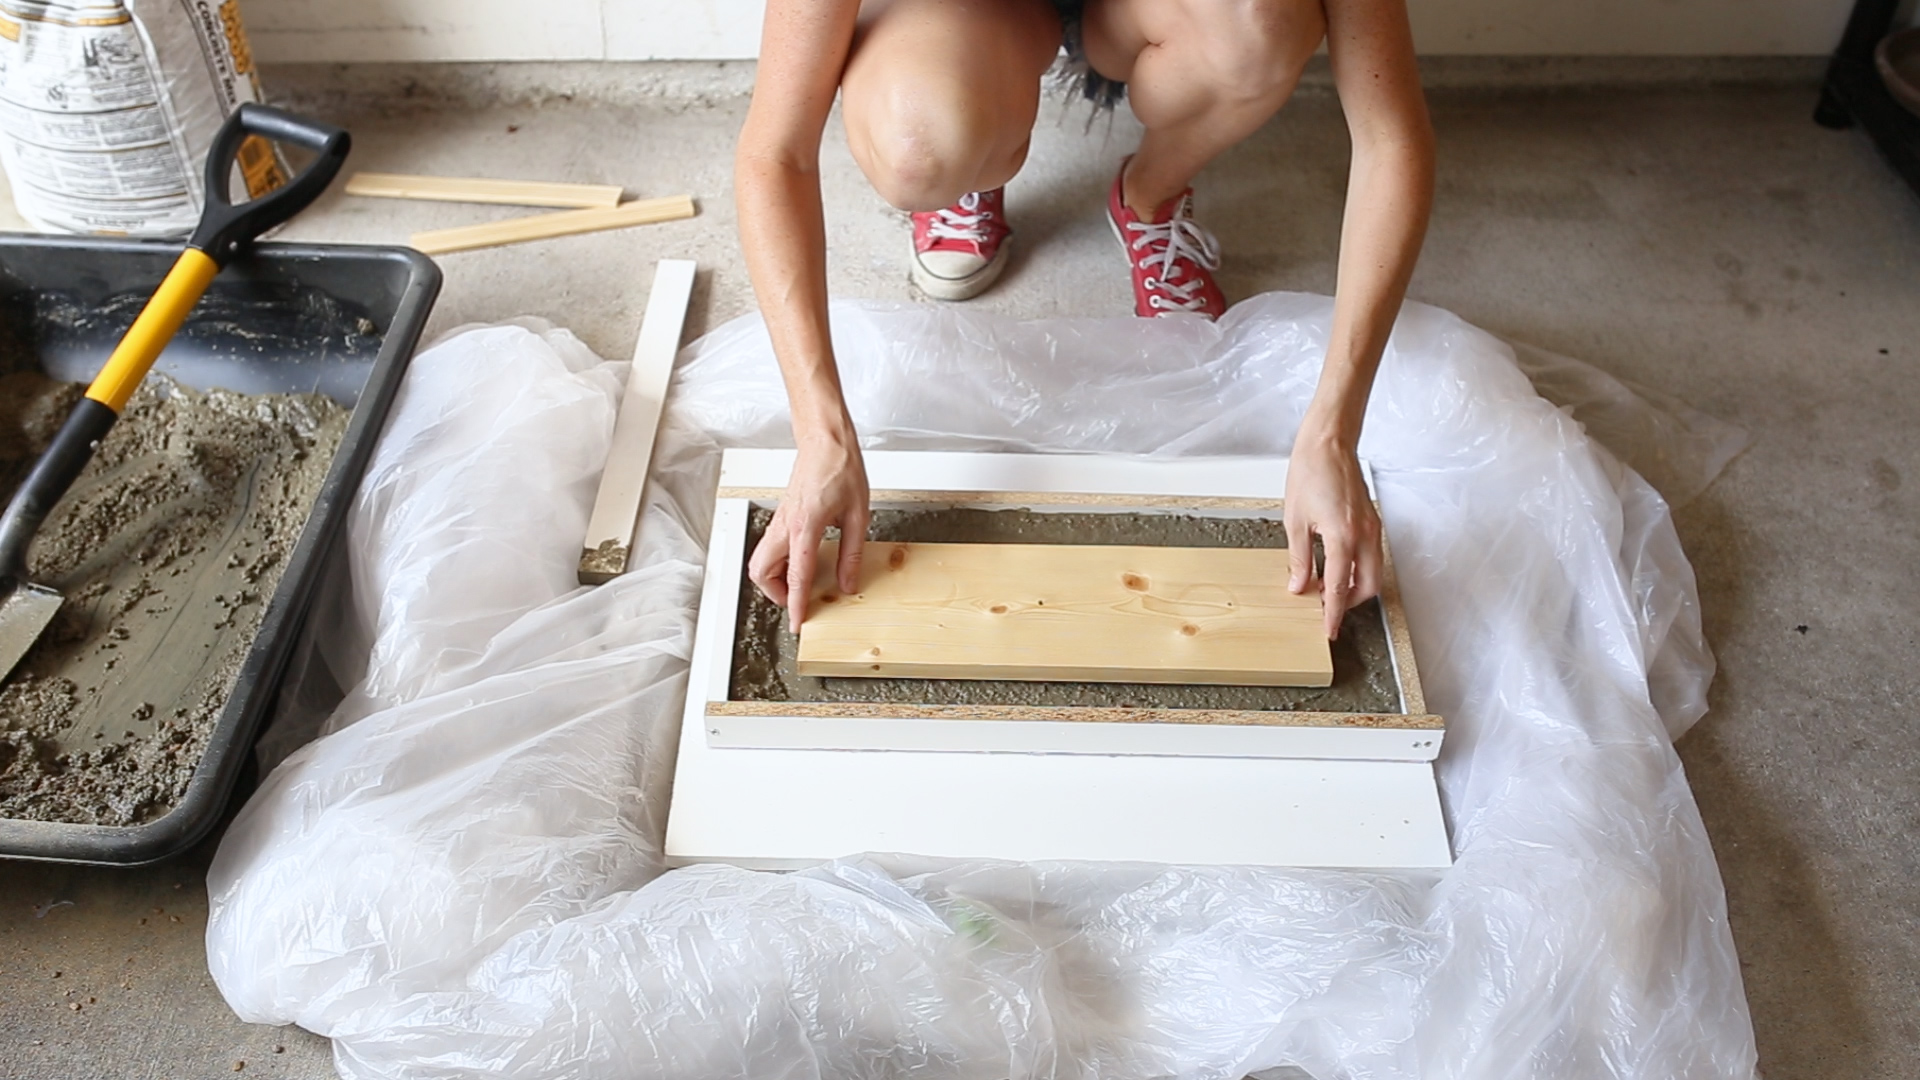
I mixed up some Quikrete and then filled the form, making sure to push the mixture into the corners.
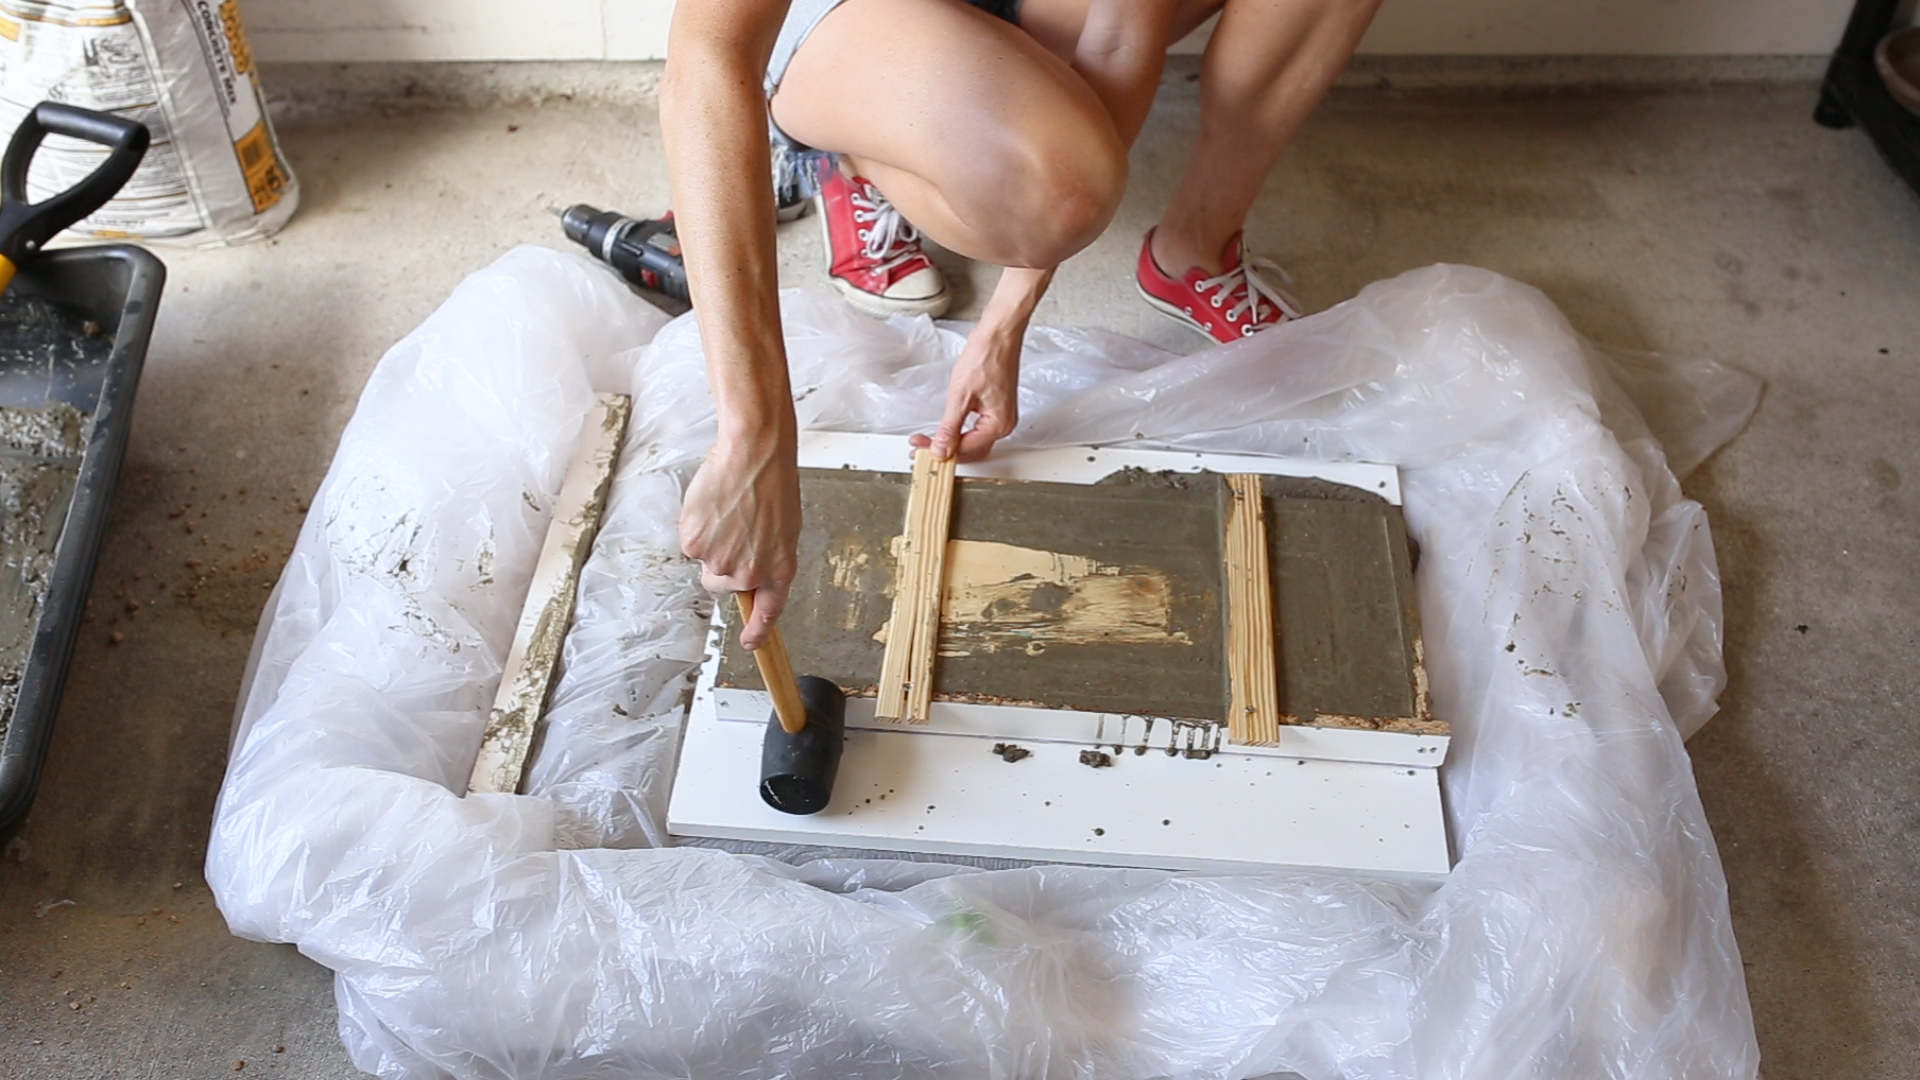
I set in a piece of wood (coated with polyurethane to keep out moisture) that will later be used to attach the wood base to the concrete top. I secured it with scrap wood and screws to keep the wood from floating up while the concrete cures. And finally I hammered on the edges of the form with a mallet to get out any air bubbles.
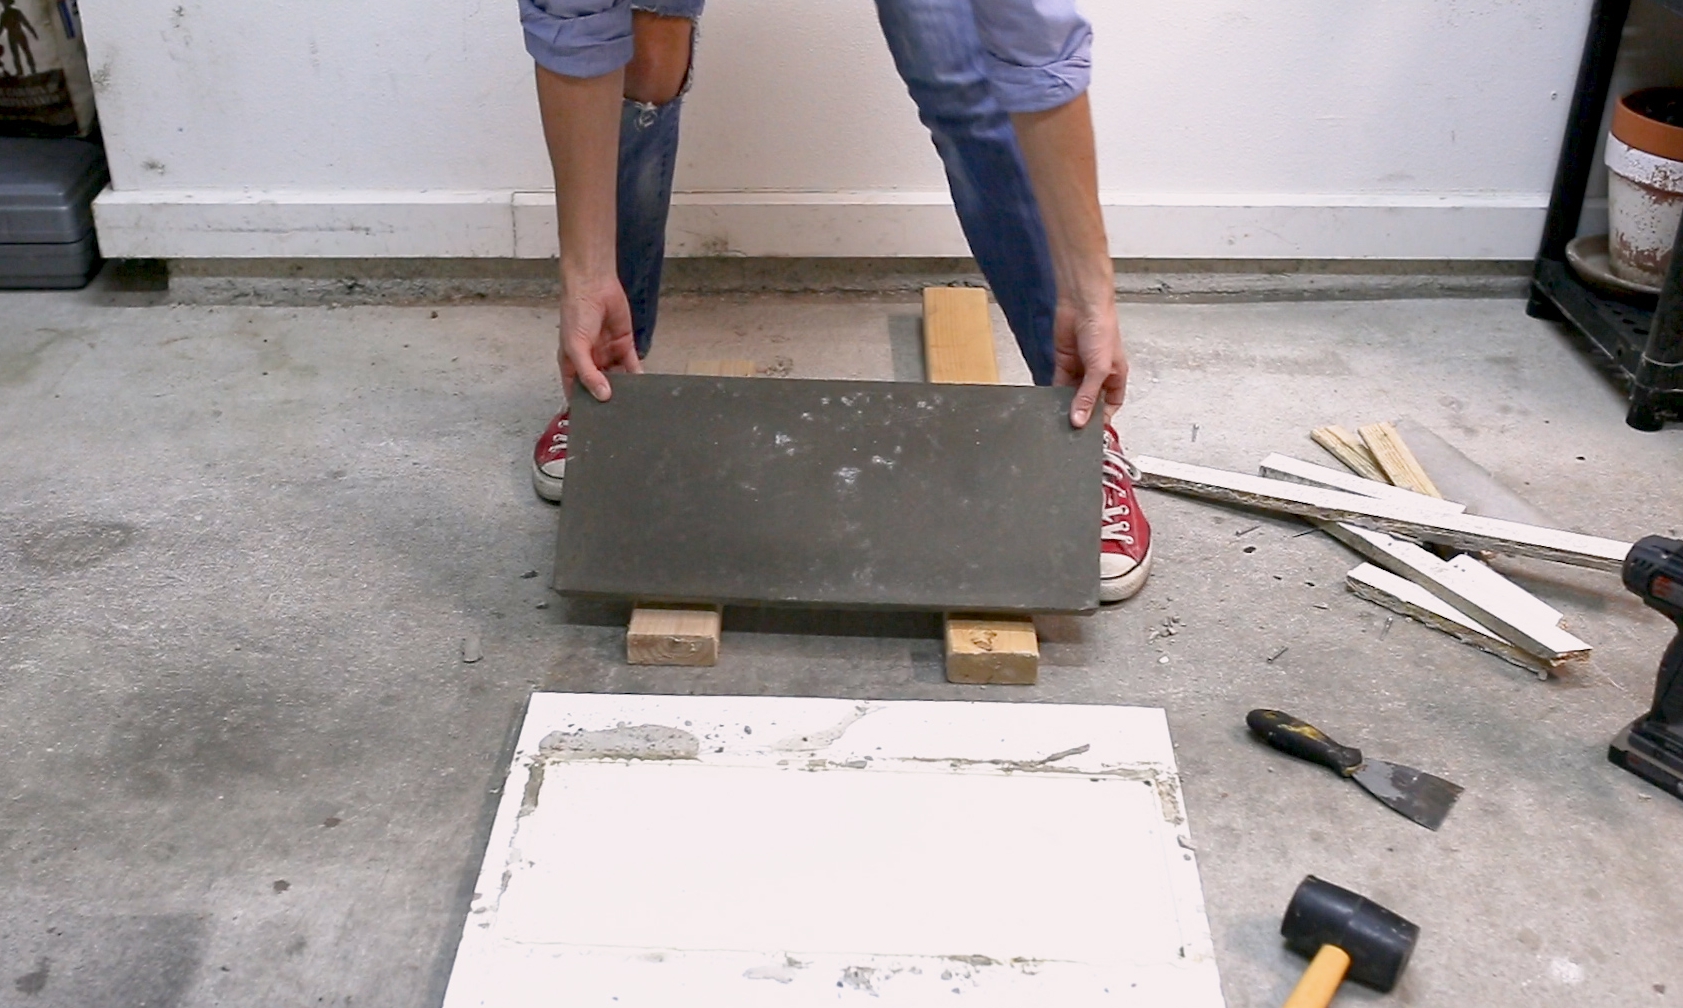
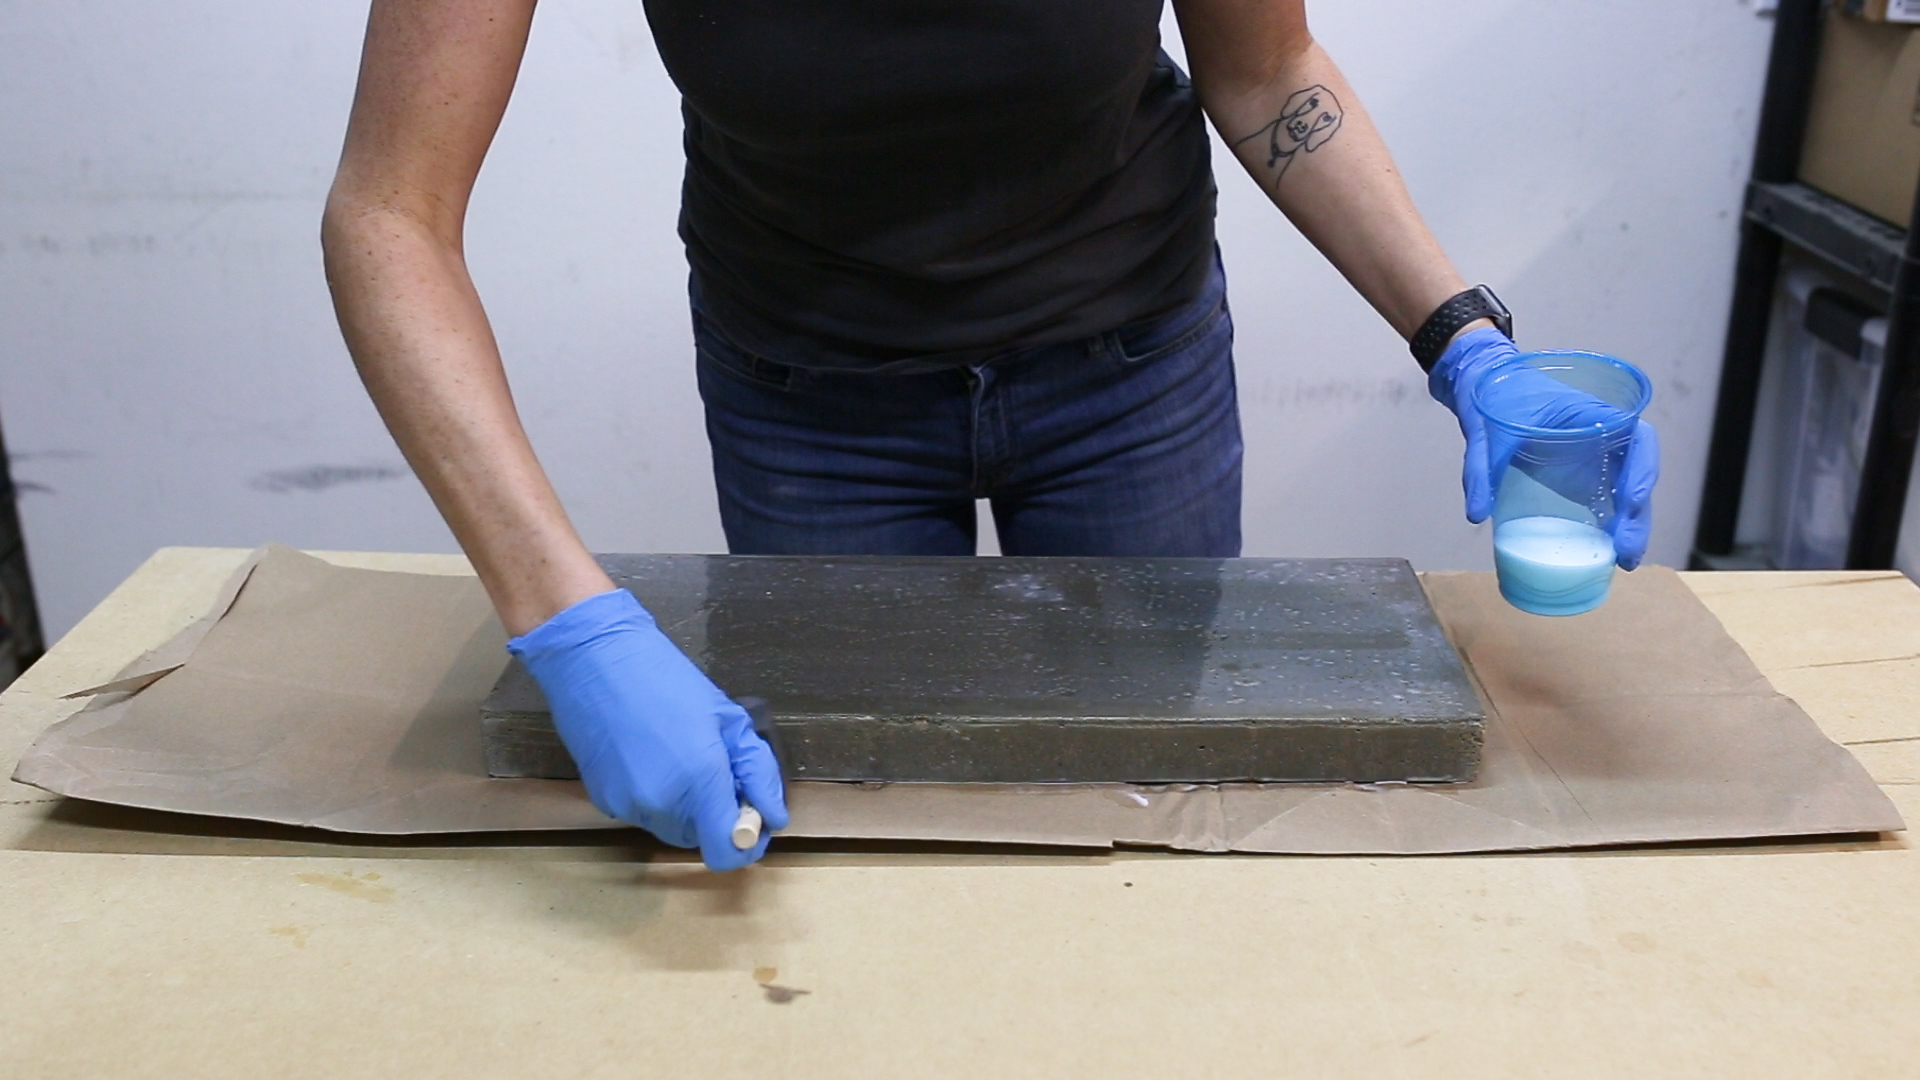
I let the concrete cure in the form for at least 48 hours. I then removed it from the form and lightly sanded any rough corners. After the slab was fully dry, I sealed it with a concrete sealer to protect it from moisture and stains.
The Wood Base
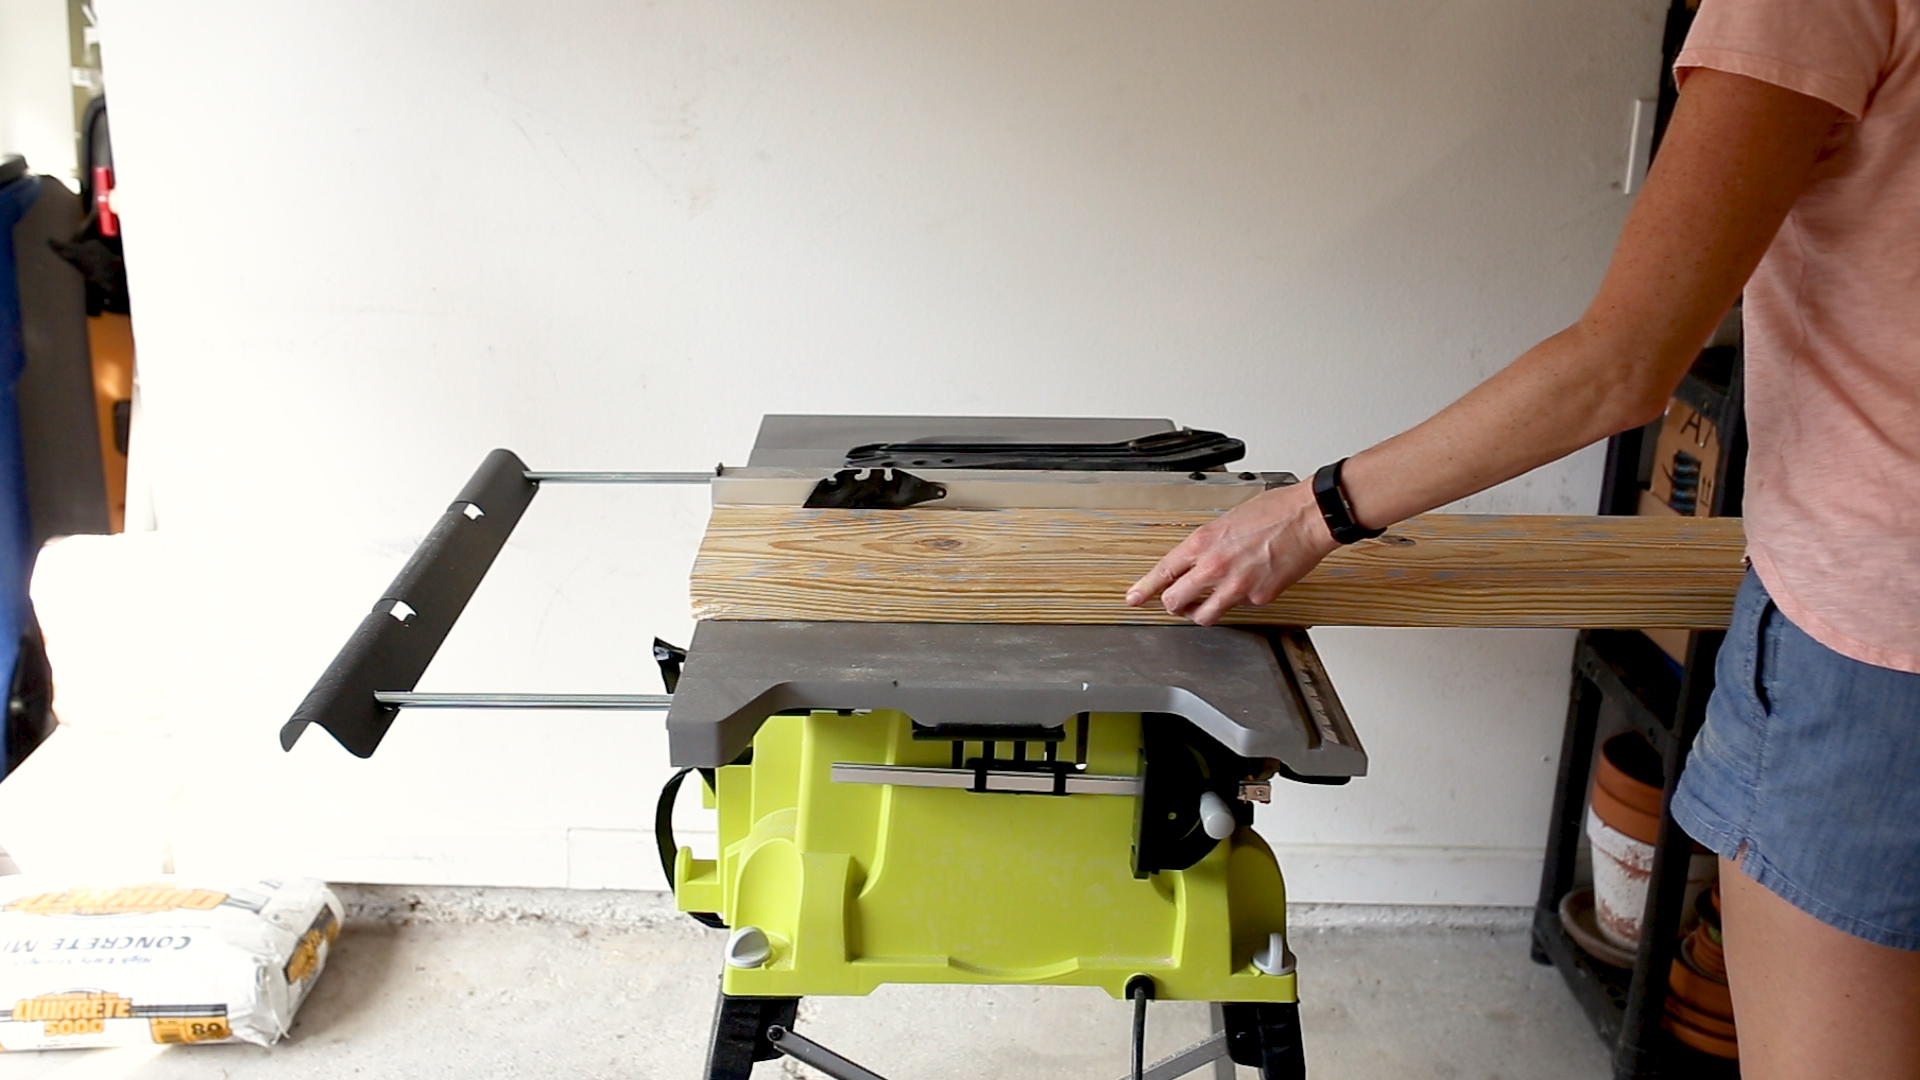
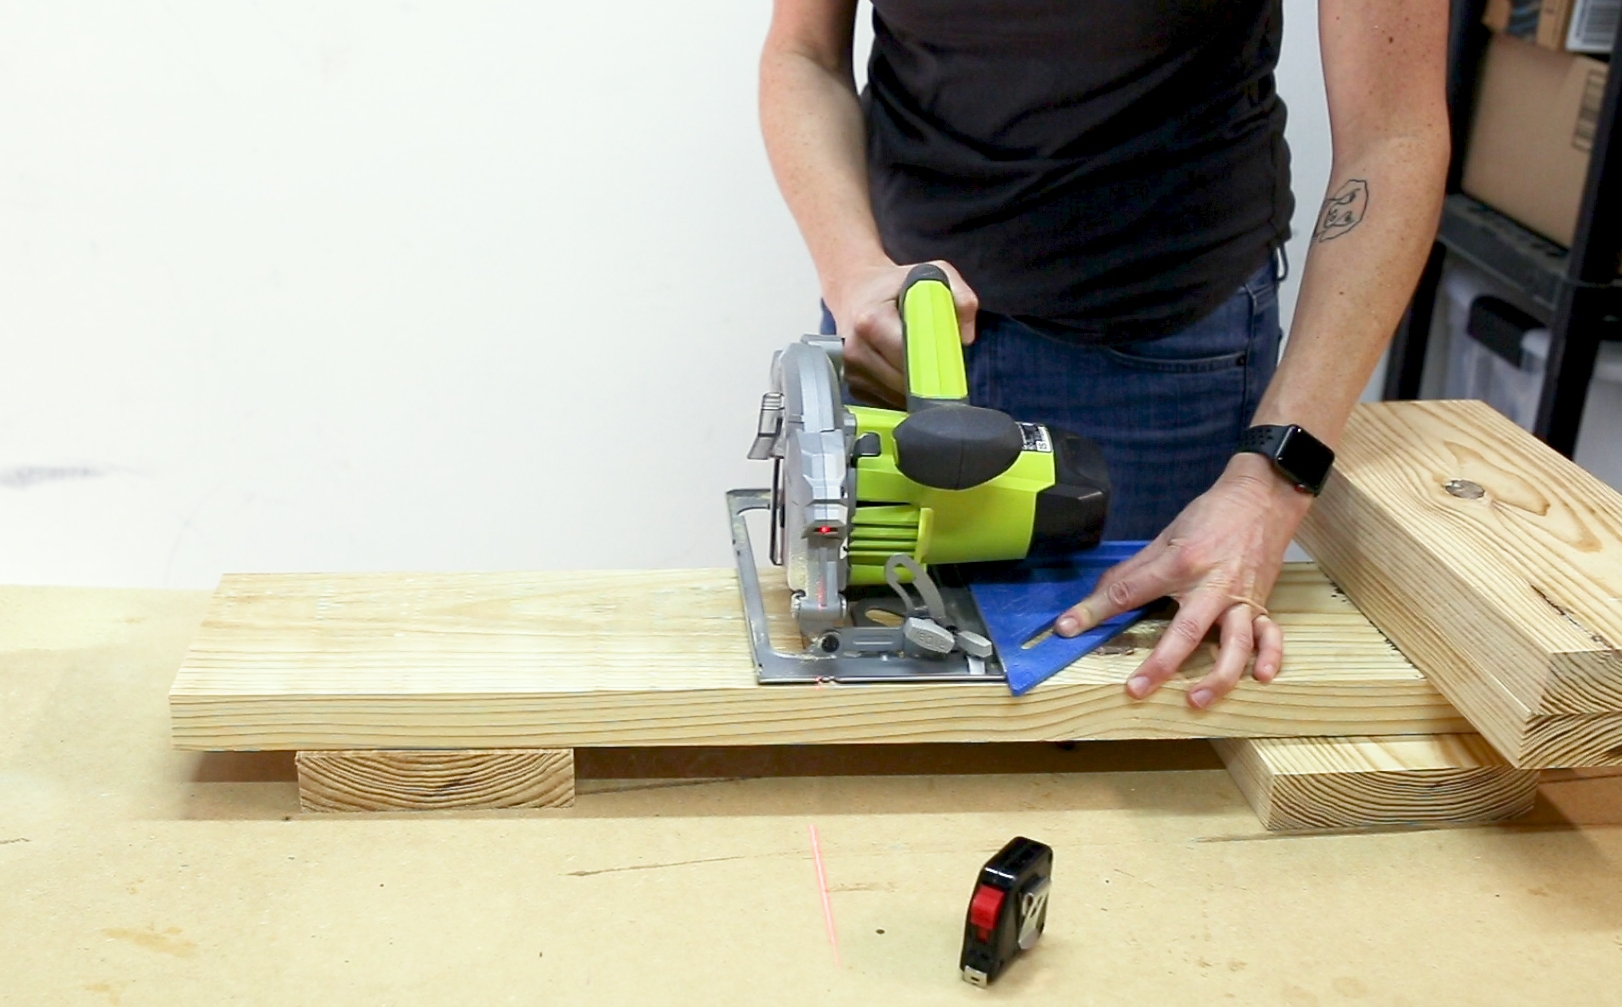
I cut off the rounded sides of a 2x8 with my table saw, giving me nice square edges. I then cut the board to the 4 shorter lengths I needed using a circular saw. I cut two to 14" and two to 8.5".
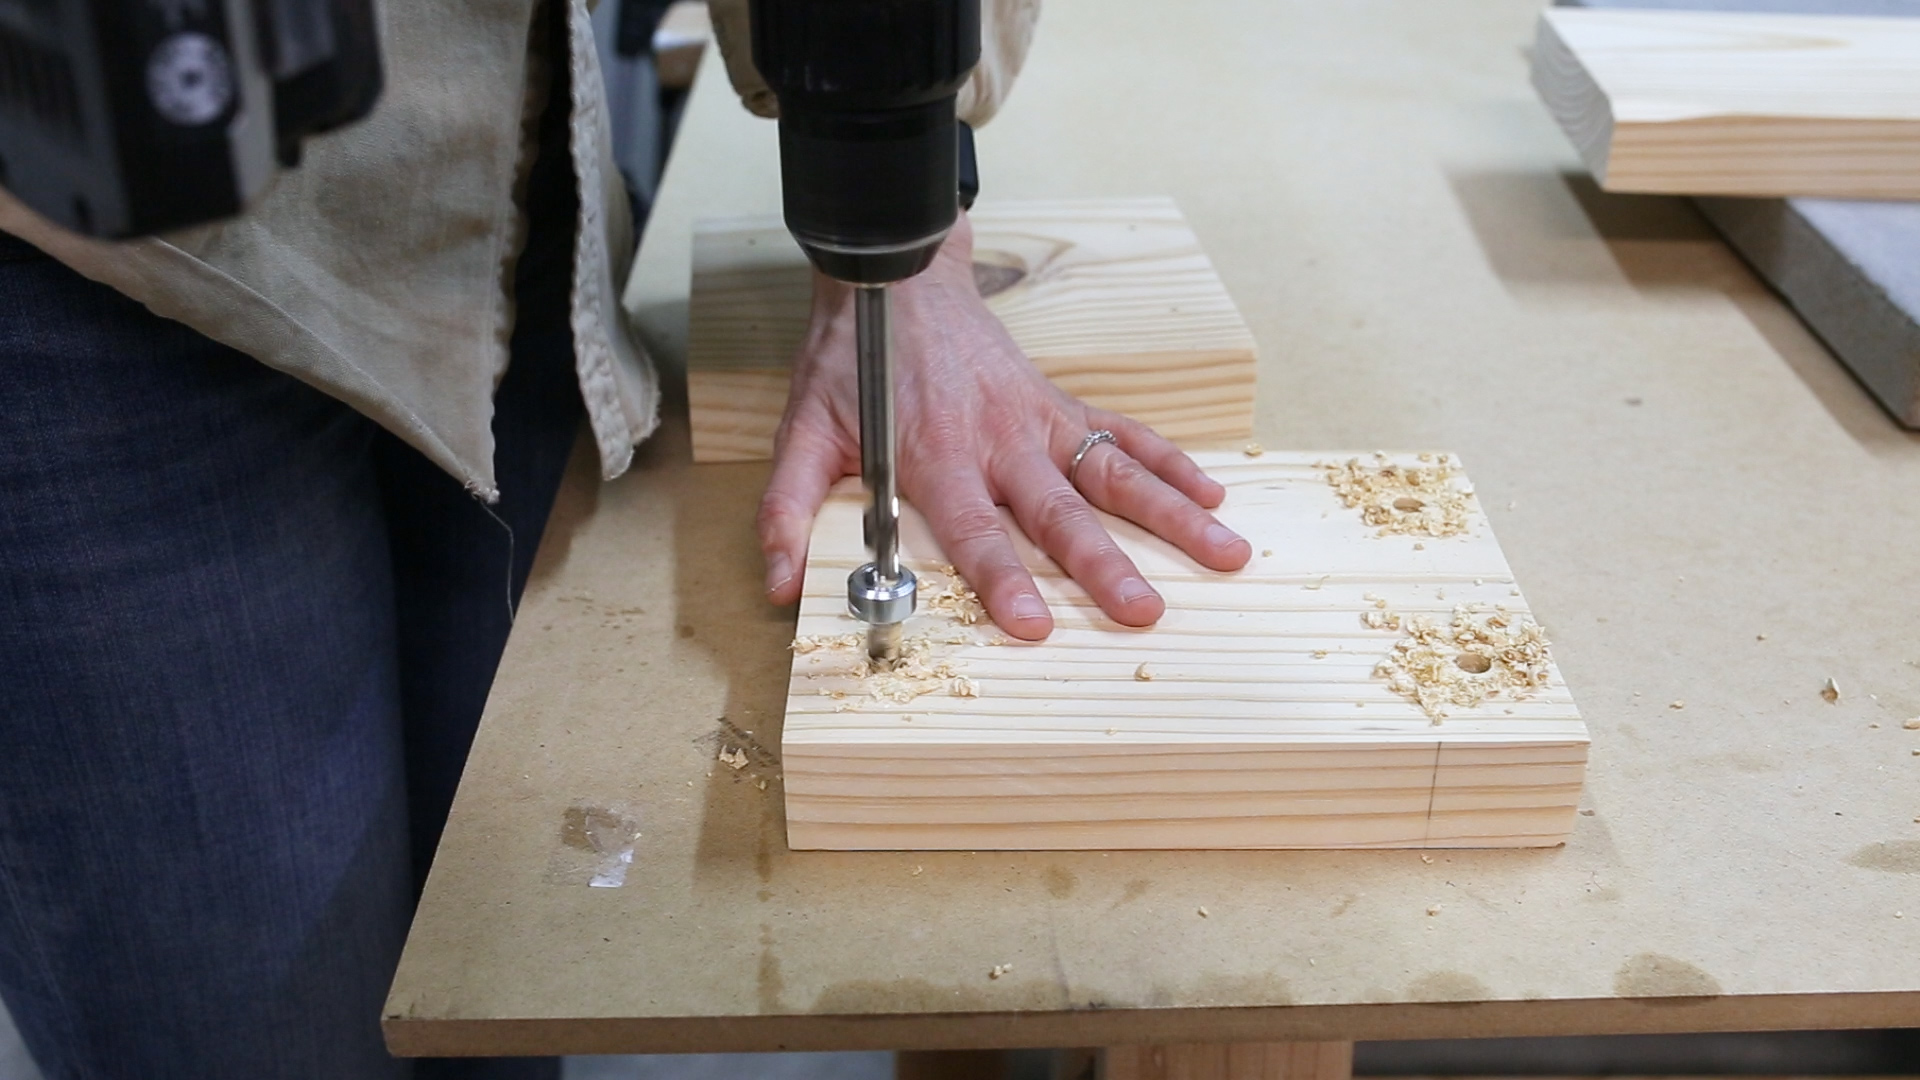
I'm going to attach the boards using screws but I don't want the screws to be shown. So I drilled recesses for the screws to sit down in that I will later cover.
Once the sides were attached, I attached the base to the concrete top. I drilled recesses and screwed the base into the board in the concrete.
With the top attached, I could then attach the bottom board to the wooden base.
To cover the recessed screws, I used dowels. I applied glue to the end of a dowel, stuck them in the screw holes and then cut the dowels off with my flush trim saw.
I then sanded the dowels smooth and gave the wood base a couple of coats of polyurethane in a matte finish. This will protect the wood from the waterfall of water that appears every time my Labrador gets a drink.
And that’s it! If you decide to make one of your own, I’d love to see it. You can find me on Instagram @makergray
If you liked this project and want to stay up to date with what I’m building, then be sure to sign up for my emailed newsletter and you’ll get an email when I post something new. See you soon!


